To gray
If you have ever worked on a Computer Vision project, you might know that using augmentations to diversify the dataset is the best practice. On this page, we will:
Сover the To gray augmentation;
Check out its parameters;
See how To gray affects an image;
And check out how to work with To gray using Python through the Albumentations library.
Let’s jump in.
To gray augmentation explained
To define the term, To gray is an augmentation that converts the input color image to grayscale. If you are unfamiliar with the topic, for the grayscale image, each pixel contains only information about the amount of light within it. In other words, it carries only the intensity information. That is why grayscale images are monochrome and composed of shades of gray (from black at the pixel with the weakest intensity to white at the strongest).
As for the exact algorithm behind the To gray augmentation, it is straightforward. Any color image is composed of three channels (red, green, and blue - RGB), whereas each channel contains information about the intensity of a particular color in a specific pixel. The idea is to remove all the color information leaving only the luminance values. With that done, your image will become monochrome composed of shades of gray. Yes, it is as simple as that.
For Data Scientists, To gray is a valuable augmentation. With its help, researchers can make the model less focused on color as a signal. And in some cases, it might be an intelligent decision. Still, if you are trying to detect an object that is always of the same color, To gray is not the best fit for you. So, please analyze your case before using To gray as your augmentation.
To gray augmentation parameters
Probability of applying transform - defines the likelihood of applying To gray to an image;
To gray augmentation visualized
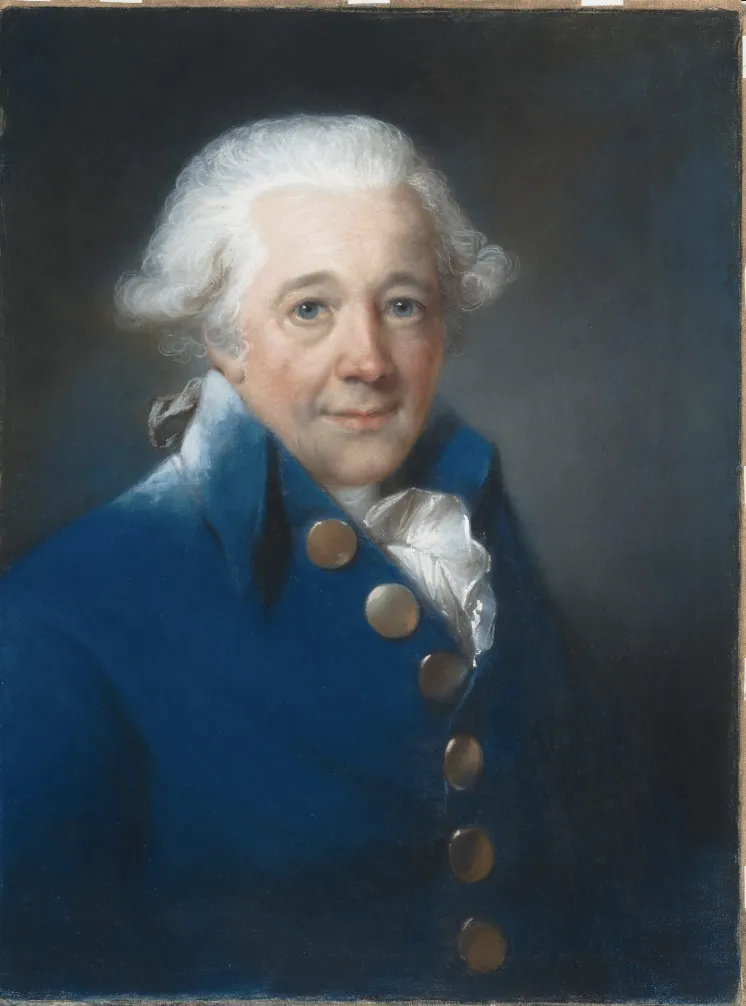
Source
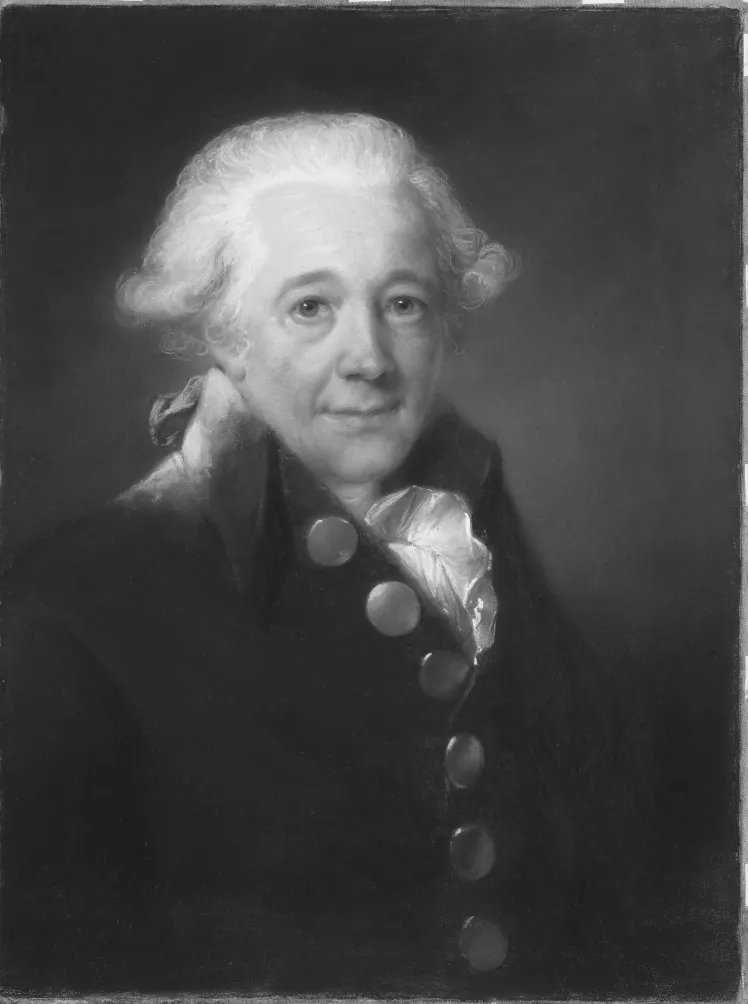
Source