Color Jitter
If you have ever worked on a Computer Vision project, you might know that using augmentations to diversify the dataset is the best practice. On this page, we will:
Сover the Color Jitter augmentation;
Check out its parameters;
See how Color Jitter affects an image;
And check out how to work with Color Jitter using Python through the Albumentations library.
Let's jump in.
Color Jitter augmentation explained
To define the term, Color Jitter is a data augmentation technique that allows researchers to vary the brightness, contrast, hue, and saturation of the sample images. To understand how Color Jitter works, let's first observe the structure of digital images.
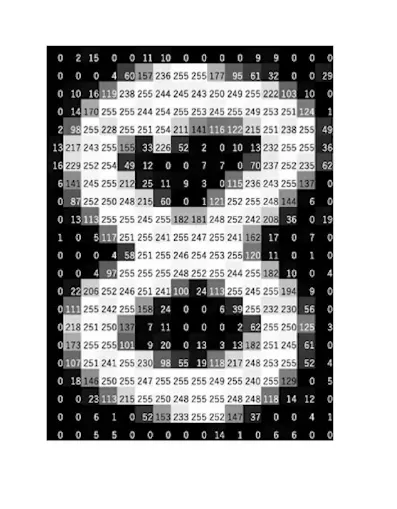
In general, images are stored in computers as matrixes of numbers known as pixel values.
Each matrix has a particular dimension, which is the height (x) multiplied by the width (y) of the image. For example, if there are 30 pixels across the height and 40 pixels across the width, the dimension of the image is 30 x 40.
The pixel values can vary from 0 to 255 and represent the intensity of each pixel. The range from 0 to 255 is chosen since exactly this number of values (256) can be stored in one byte (8 bits). 0 stands for black color, and 255 stands for white.
The matrix of numbers is also referred to as the channel.
Grayscale images have only one channel. Changing the pixel values of such images will produce different shades of gray.
Source
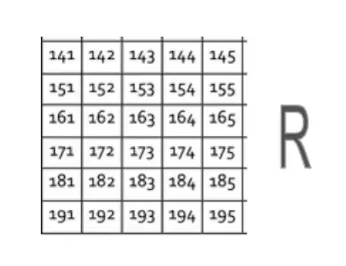
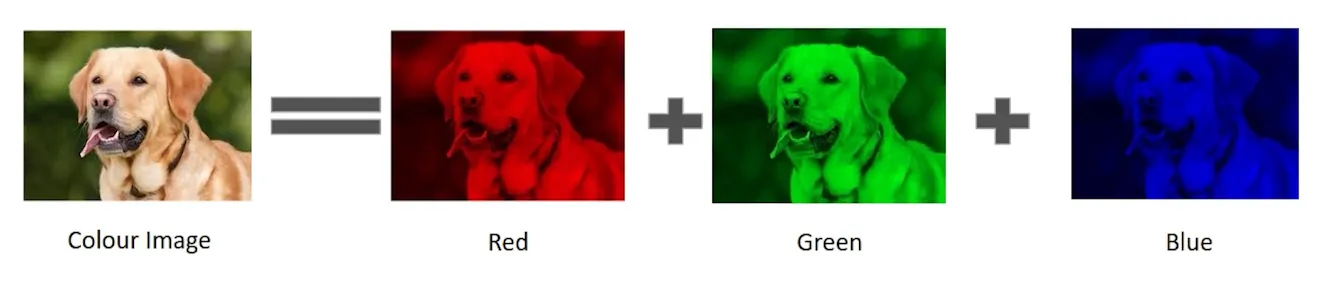
Typical colored images are composed of 3 matrixes or channels - Red, Green, and Blue, where each matrix contains information about the intensity of each color.
In the end, all the matrixes are superimposed so that each pixel contains:
A value for the red color (R);
A value for the green color (G).
A value for the blue color (B).
Source
The combination of these channels (R, G, B) makes it possible to create any color the human eye can perceive.
Source
Color Jitter augmentation parameters
- Brightness - refers to the relative lightness or darkness of the pixel. It can vary from black (no brightness) to white (maximal brightness). Increasing the brightness makes every pixel in the image look lighter, and vice versa.

Source
Consider an image of a square made of 5 rows and 5 columns. The pixel values are all equal to zero, making the square black.
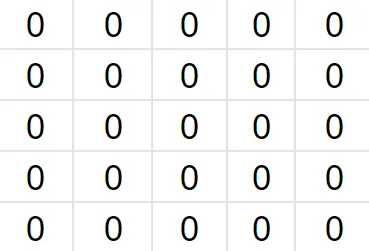
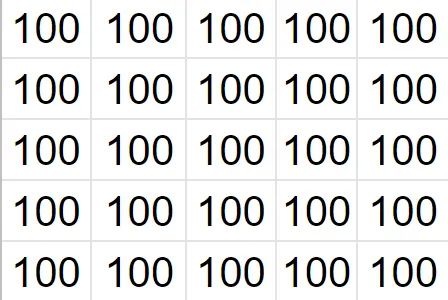
If we add +100 to each pixel value, we will receive a slightly brighter square:

Subtracting pixel values would again make the square appear darker.
- Contrast - refers to the difference in brightness between the image's lightest and darkest areas. The square from the example above has a contrast of zero:
Maximum pixel value (lightest) - Minimum pixel value (darkest) = 100 - 100 = 0 - Hue - refers to the tone of a color. Hue is different from color since colors can have saturation or brightness as well as a hue.
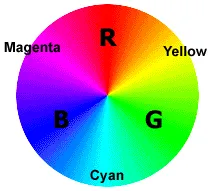
Source
- Saturation - refers to the intensity of a color. It can vary from a gray tone (no saturation) to an intense tone (high saturation).

Source
The picture below represents the difference between hue, saturation, and brightness.
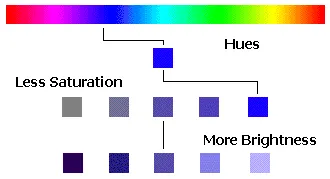
Source
Probability of applying transform - defines the likelihood of applying Color Jitter to an image.
Color Jitter augmentation visualized
Jittered brightness
Source
Jittered contrast
Source

Jittered hue
Source

Jittered saturation
Source