Equalize
If you have ever worked on a Computer Vision project, you might know that using augmentations to diversify the dataset is the best practice. On this page, we will:
Сover the Equalize augmentation;
Check out its parameters;
See how Equalize affects an image;
And check out how to work with Equalize using Python through the Albumentations library.
Let’s jump in.
Equalize augmentation explained
To define the term, Equalize is an augmentation that equalizes the image histogram. In other words, this augmentation enhances image contrast. Let’s dive a bit deeper into how it works.
If you are unfamiliar with the topic, each image can be represented in the form of a histogram featuring the intensity distribution of an image.
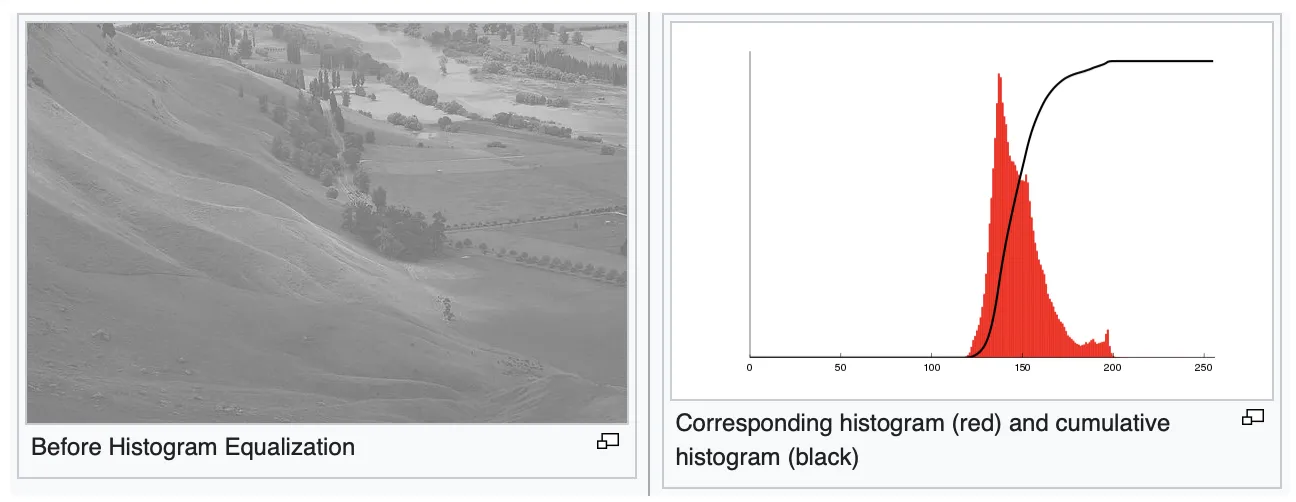
Source
In the picture above, you can see a simple example of such a representation. In this case, the x-axis is the brightness scale (from black on the left to white on the right). On the other hand, the y-axis features the number of pixels of a certain intensity on an image. So, in a sense, the histogram represents the number of pixels for each brightness value.
As mentioned above, Equalize performs the Histogram Equalization image processing technique, enhancing the image contrast. To do so, the algorithm spreads the most frequent intensity values, enhancing an image's overall contrast.
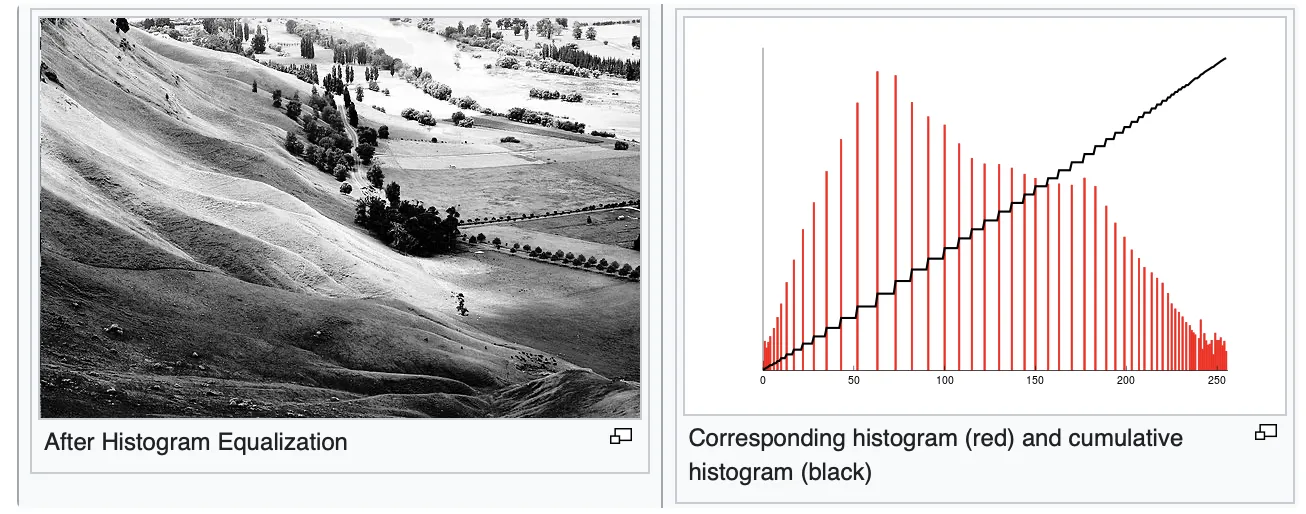
Source
Equalize augmentation parameters
Probability of applying transform - defines the likelihood of applying Equalize to an image;
Use OpenCV or Pillow equalization mode - OpenCV and Pillow libraries have bit different equalization modes, so it is up to you to decide which one you like more;
Equalize by channel - when toggled on, each channel of an image will be equalized separately. When toggled off, a picture is converted to YCbCr representation and equalized by the Y channel.
Equalize augmentation visualized
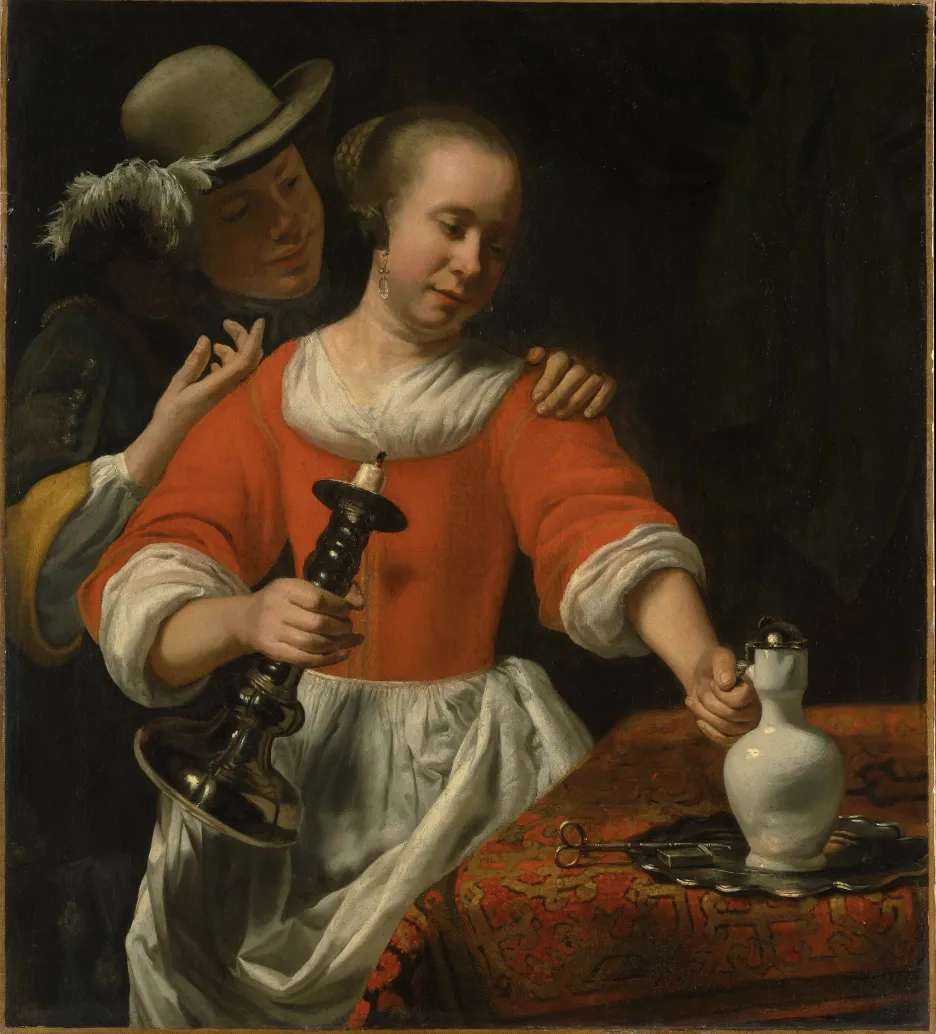
Source
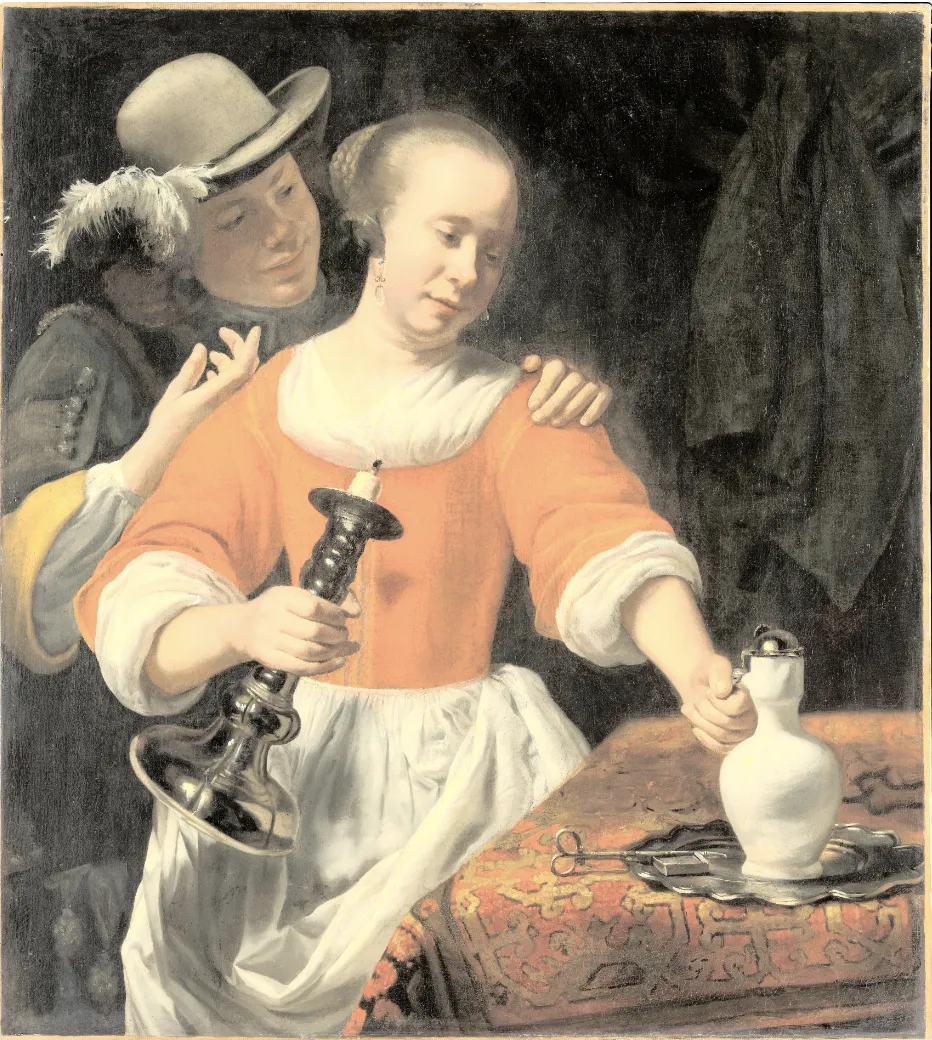
Source