How to work with keypoints in Hasty
With its recent release, Hasty brought the Keypoints feature as another manual annotation instrument. In short, keypoints should highlight essential parts of an object in an image. These parts are typically distinctive spatial locations, such as features of a face (e.g., nose, eyebrows, lips) or parts of a body (e.g., joints, hips, elbows).
This makes keypoints a perfect annotation type for such use cases as:
Tracking of an assembly process on a production line;
Movement prediction in sports or traumatic sites;
Sign languages transcription and interpretation;
Pose Estimation in AR and VR;
etc.
How to add keypoints to your project’s taxonomy
Just as with any other taxonomy change, you should navigate to the Taxonomy panel of your project’s menu.
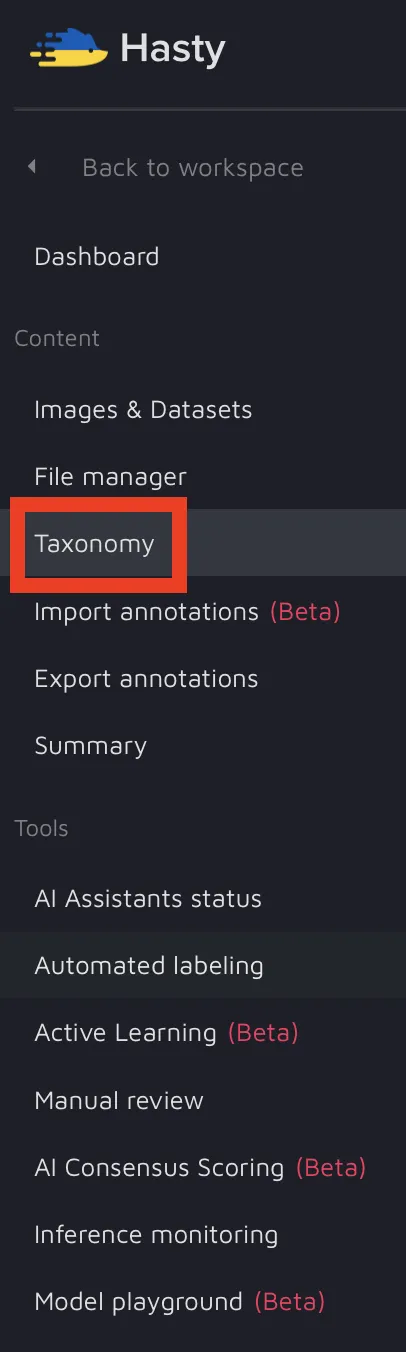
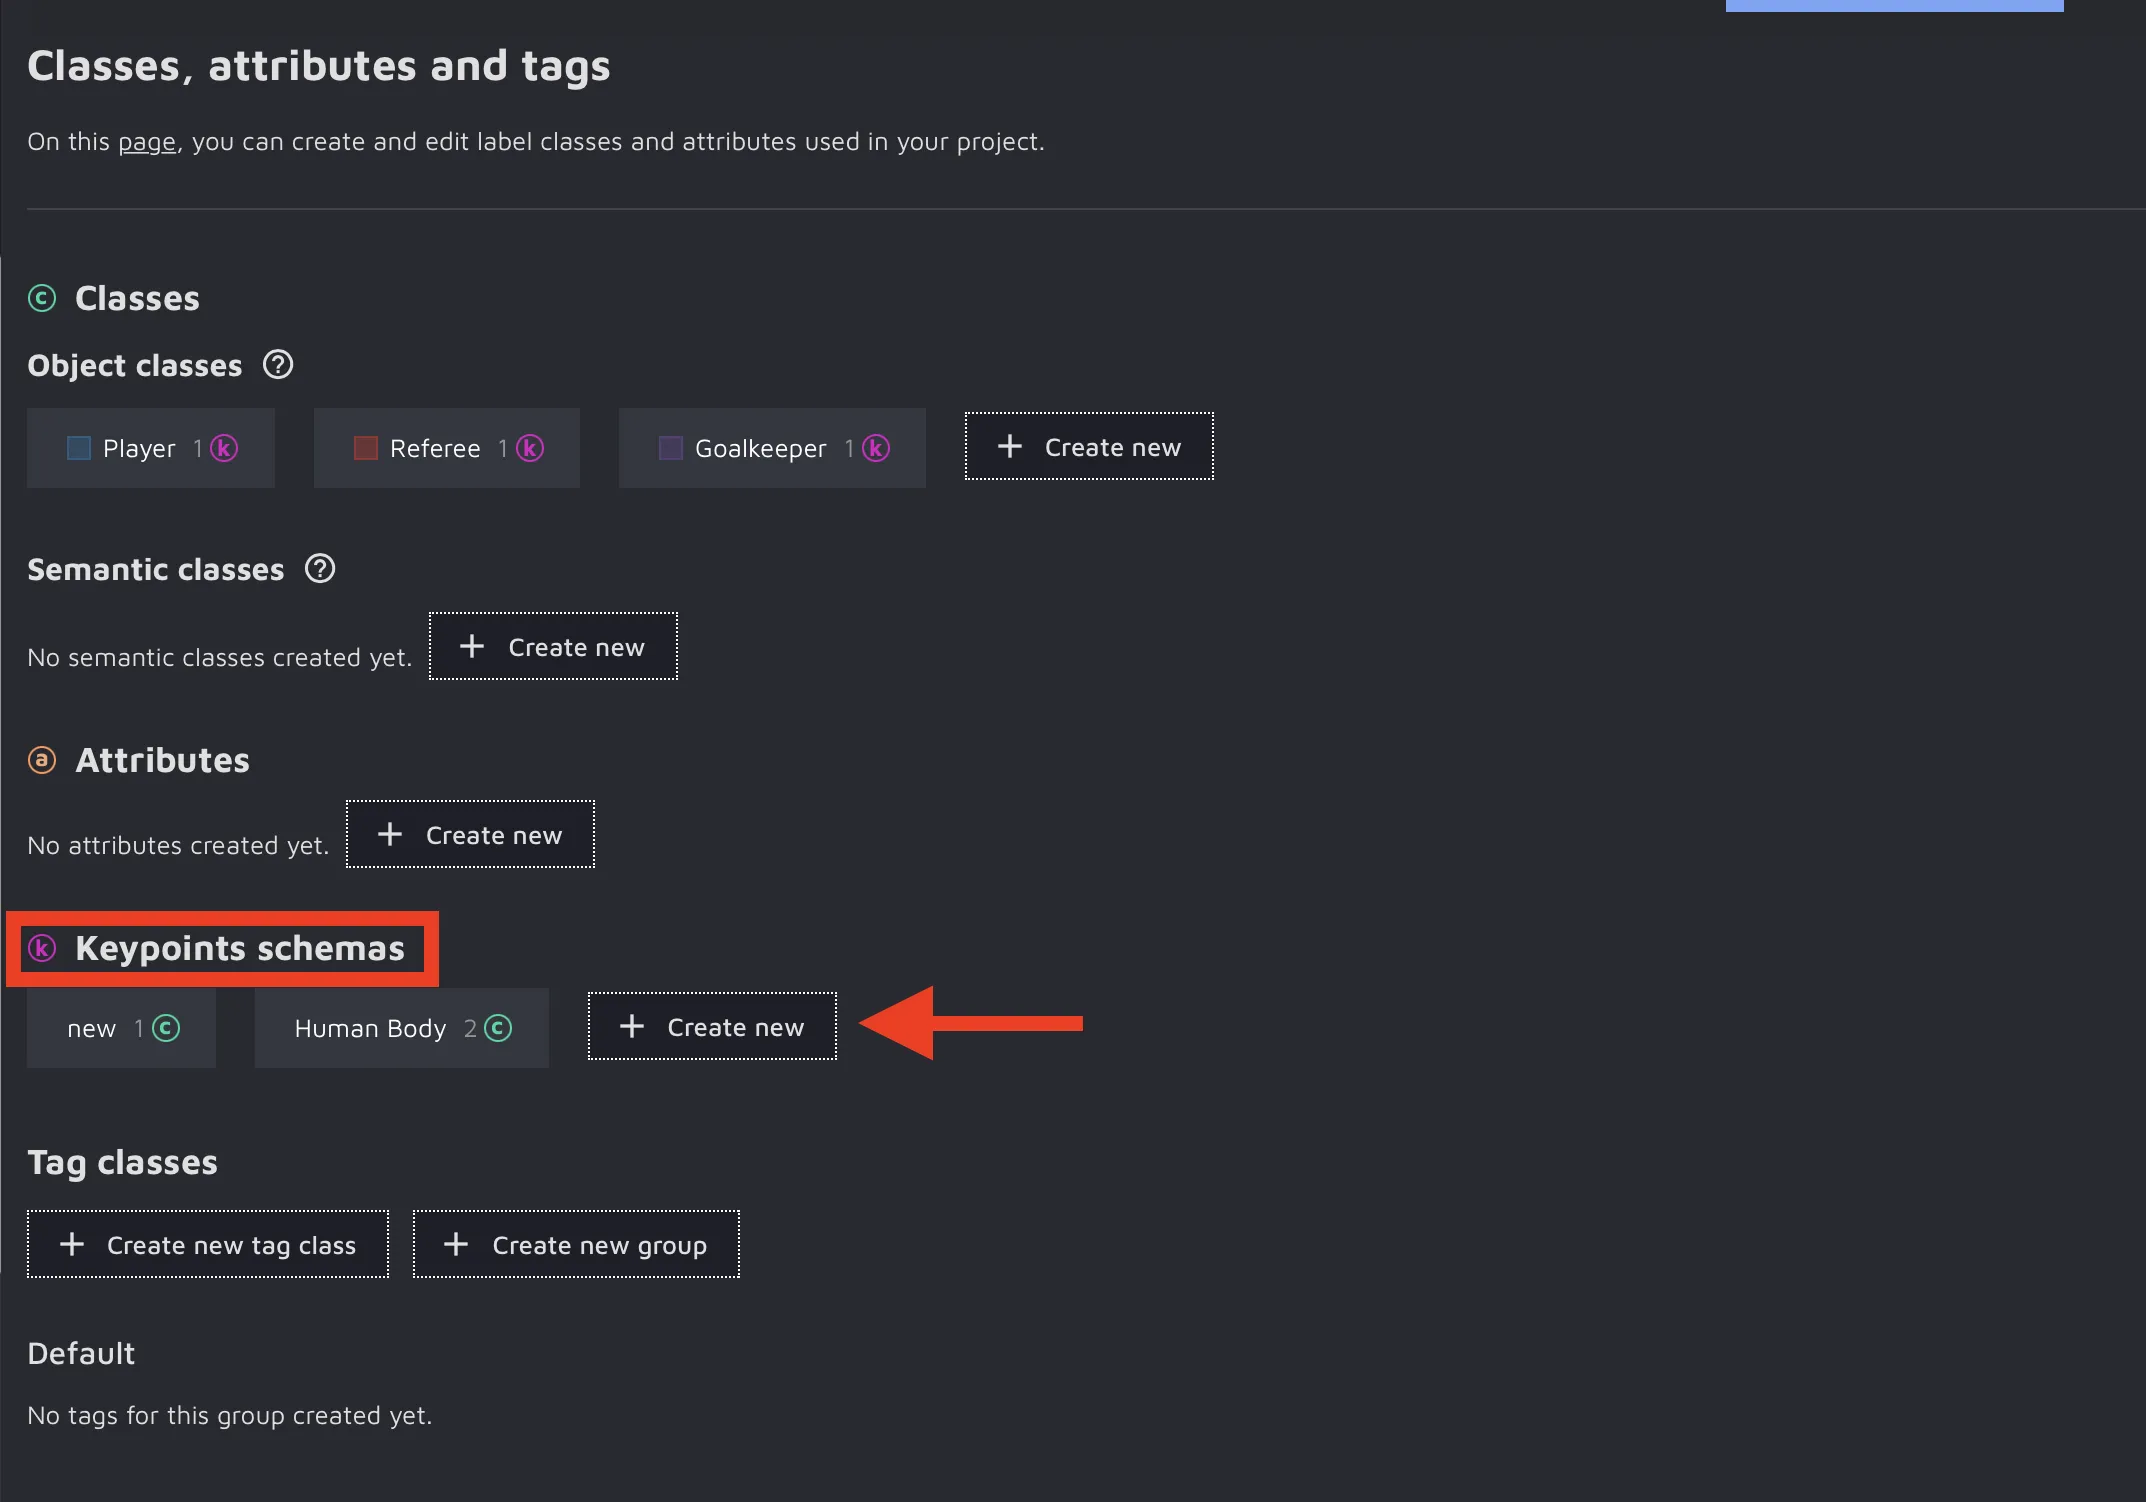
There you should navigate to the Keypoints schemas section and click on the Create new button.
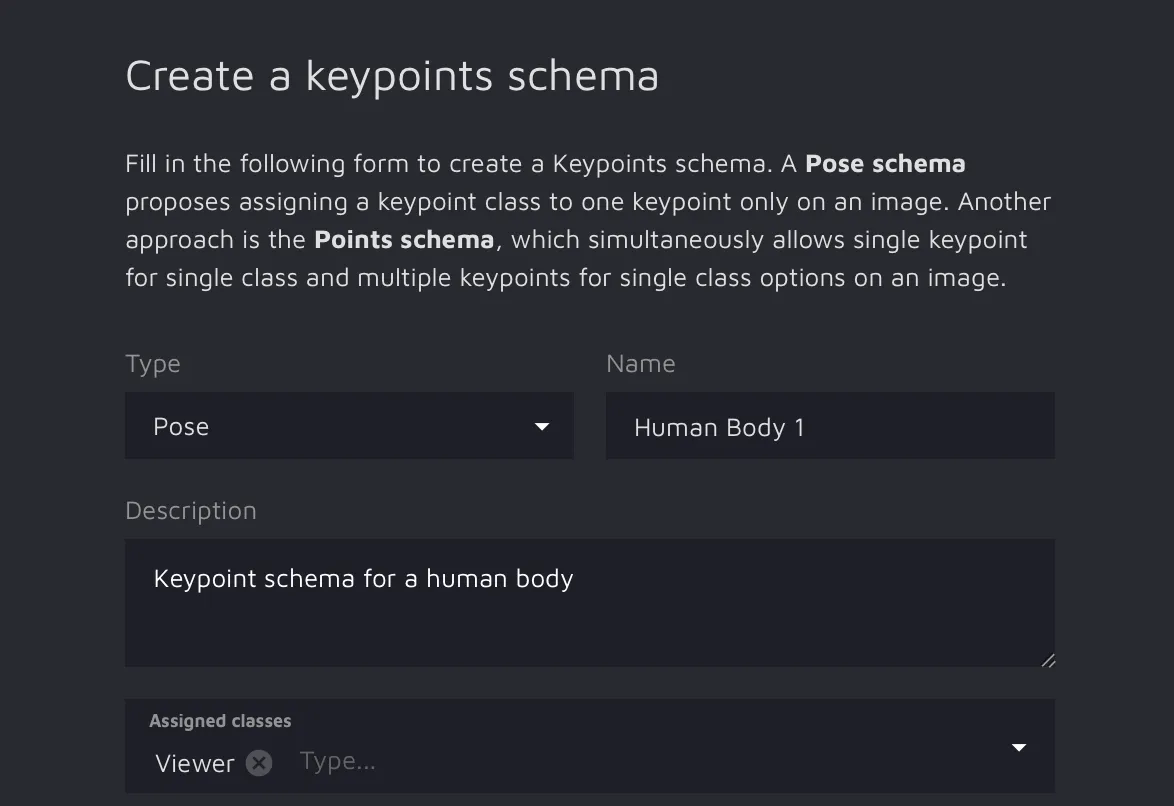
You will see a keypoints schema form you need to fill in according to your needs to create a proper schema.

Let’s get through this form block by block:
Type:
Pose - single keypoint for a keypoint class. The use case could be a human body as you need to annotate different parts of a body with various Keypoints classes (left leg, right leg, etc.);
Points - both single keypoint for a keypoint class and multiple keypoints for the same keypoint class options. The use case could be a flower, as there is a single middle of the flower and many petals that are the same.
Name - the name of the schema;
Description - the description of the schema;
Assigned classess - which object classes can be assigned to the schema as a whole;
Keypoint classes - a form for creating the classes themselves and drawing a schema skeleton.
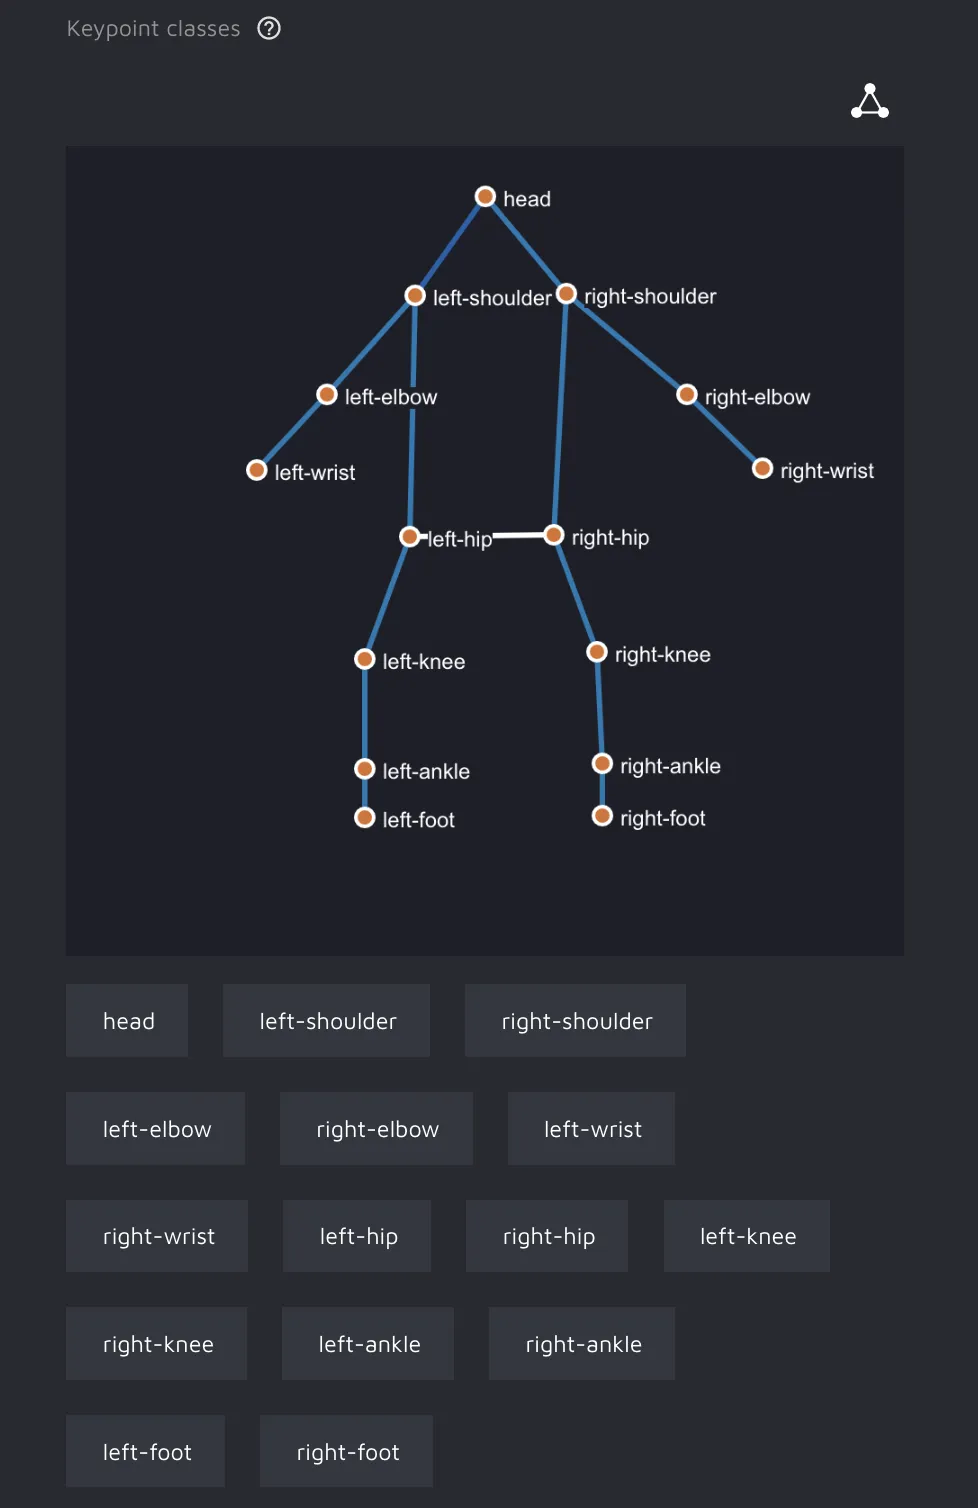
Pose schema
To create a keypoint class, please navigate to the Keypoint classes and click anywhere in the editor form.
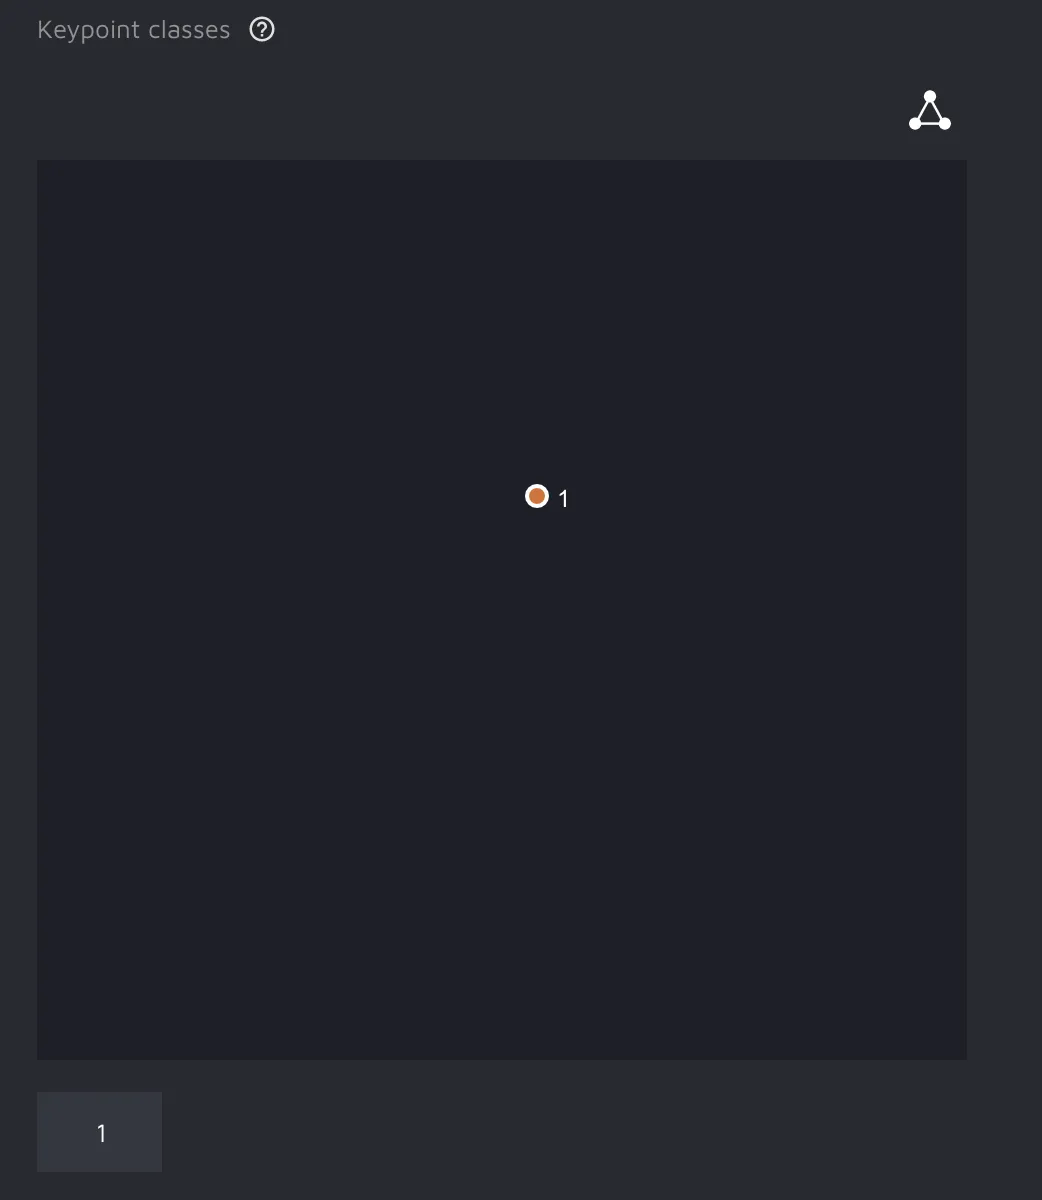
A point will appear in the block, and you will be able to rename it according to your needs. Keep adding points and renaming them according to the desired taxonomy.
To proceed further, click the triangle button and select the start keypoint. Next, click on any other keypoint to draw a line between the two points. Keep clicking on keypoints to add more connections.If you feel like changing the connection’s default color, please select the needed shade from the dropdown list on the left. To start a new connection from scratch, press the ESC key or click anywhere in the editor to deselect the current keypoint.
Once you are done, click the save button, and Hasty will save your schema in the project’s taxonomy.
Points schema
To create a keypoint class, please navigate to the Keypoint classes and select the type of the keypoint class you want to create:
Multiple instance - you will be able to place multiple keypoints in a schema for such a keypoint class type;
Single instance - you will be able to place only one keypoint in a schema for such a keypoint class type.
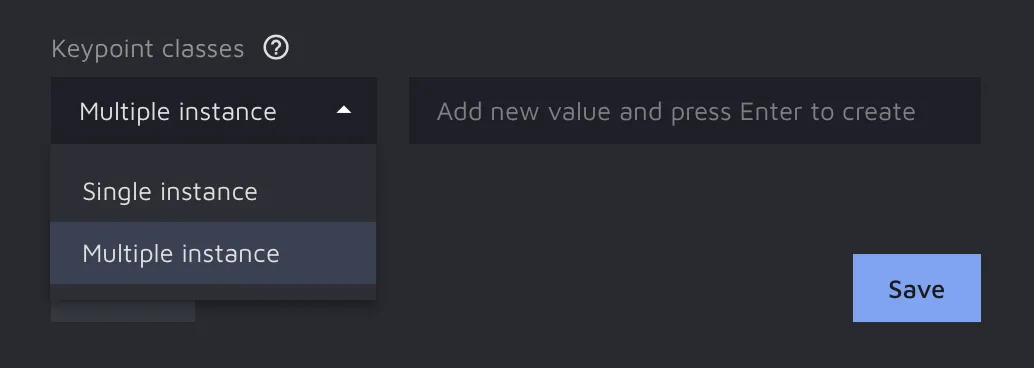
Fill in the class's name and press Enter to save it. Continue creating keypoint classes according to the desired taxonomy.
Once you are done, click the save button, and Hasty will save your schema in the project’s taxonomy.
How to annotate with the Keypoints feature
To activate the Keypoints feature, please navigate to the Annotation Environment and click on the Keypoints icon in the left tab.

Then please select one of the object classes with a keypoint schema attached to it. Hasty will automatically upload your keypoints schema to the Annotation Environment if an object class has one assigned to it. You can check out the schema's name by pressing on a triangle near the name of the class.
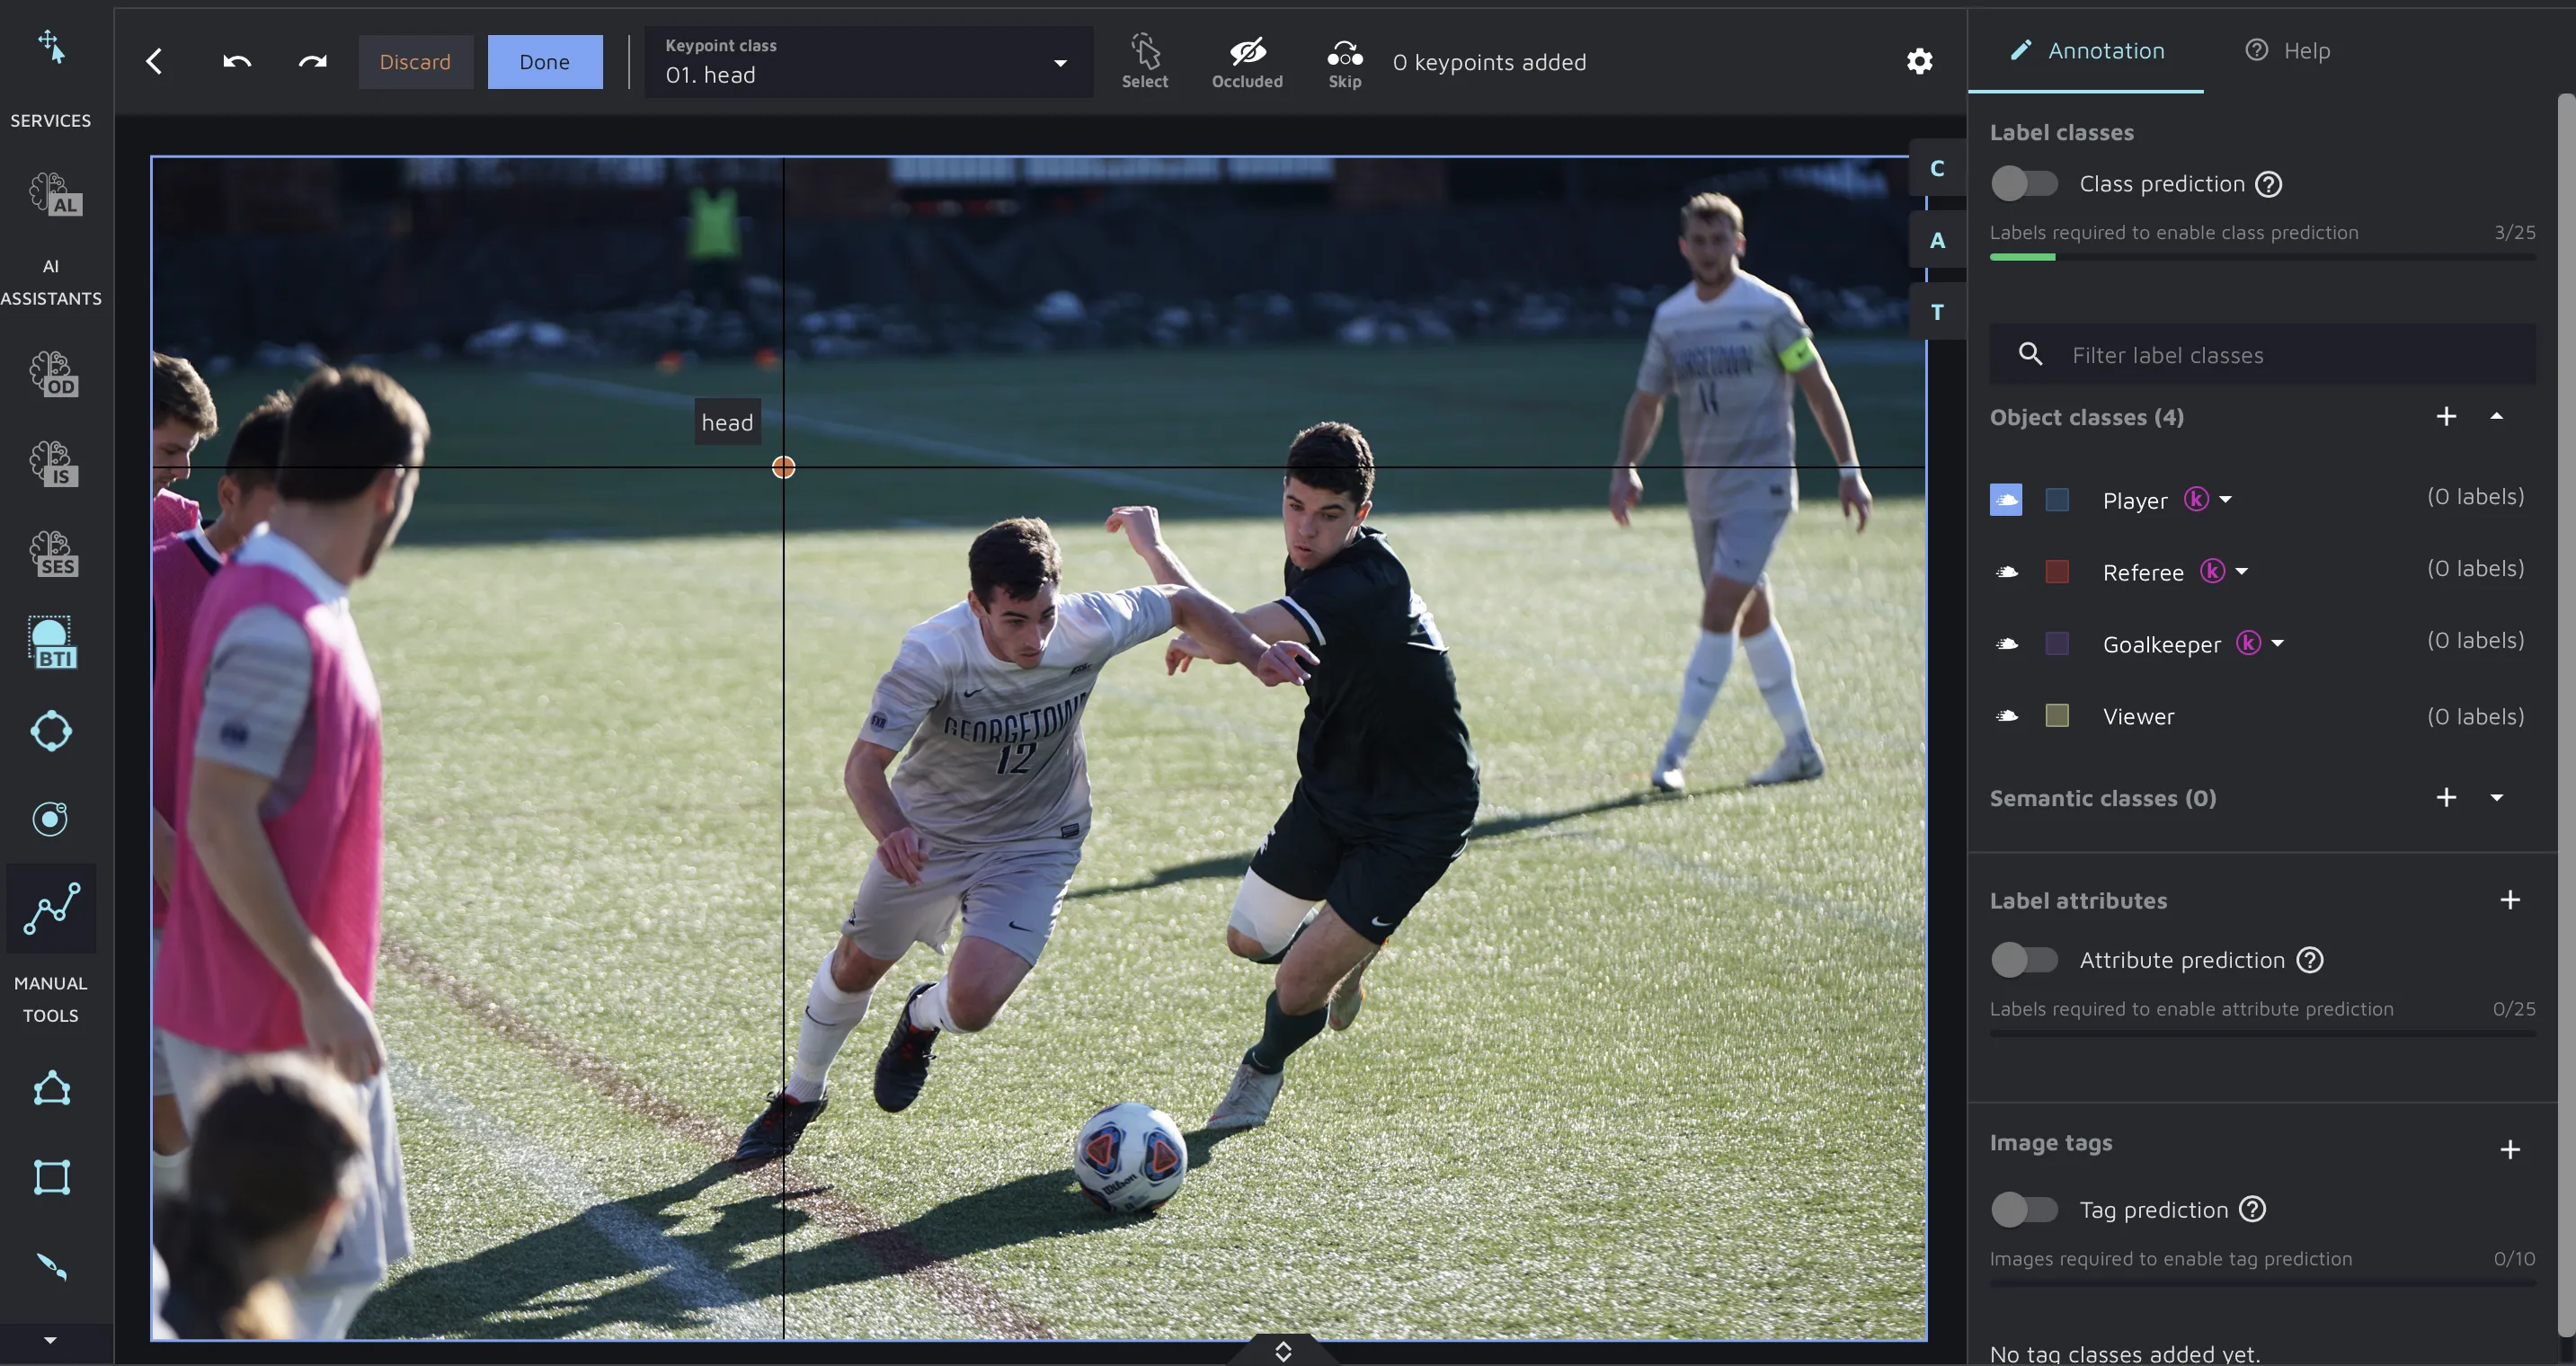
In the top bar, you will see the following options:
Keypoint class is the current keypoint class that will be assigned to a point if you click on an image;
Select - this button will become active if you try to edit the created annotation. With this button, you will be able to adjust keypoints if you feel like it;
Occluded - you can mark a keypoint class as occluded if it is not clearly visible in the image;
Skip - you can skip a keypoint class if it is not in the image.
Once you are done, press Enter or hit the Done button to save the annotation.

That is it. You now know how to work with the Keypoints feature in Hasty.