Bounding Box
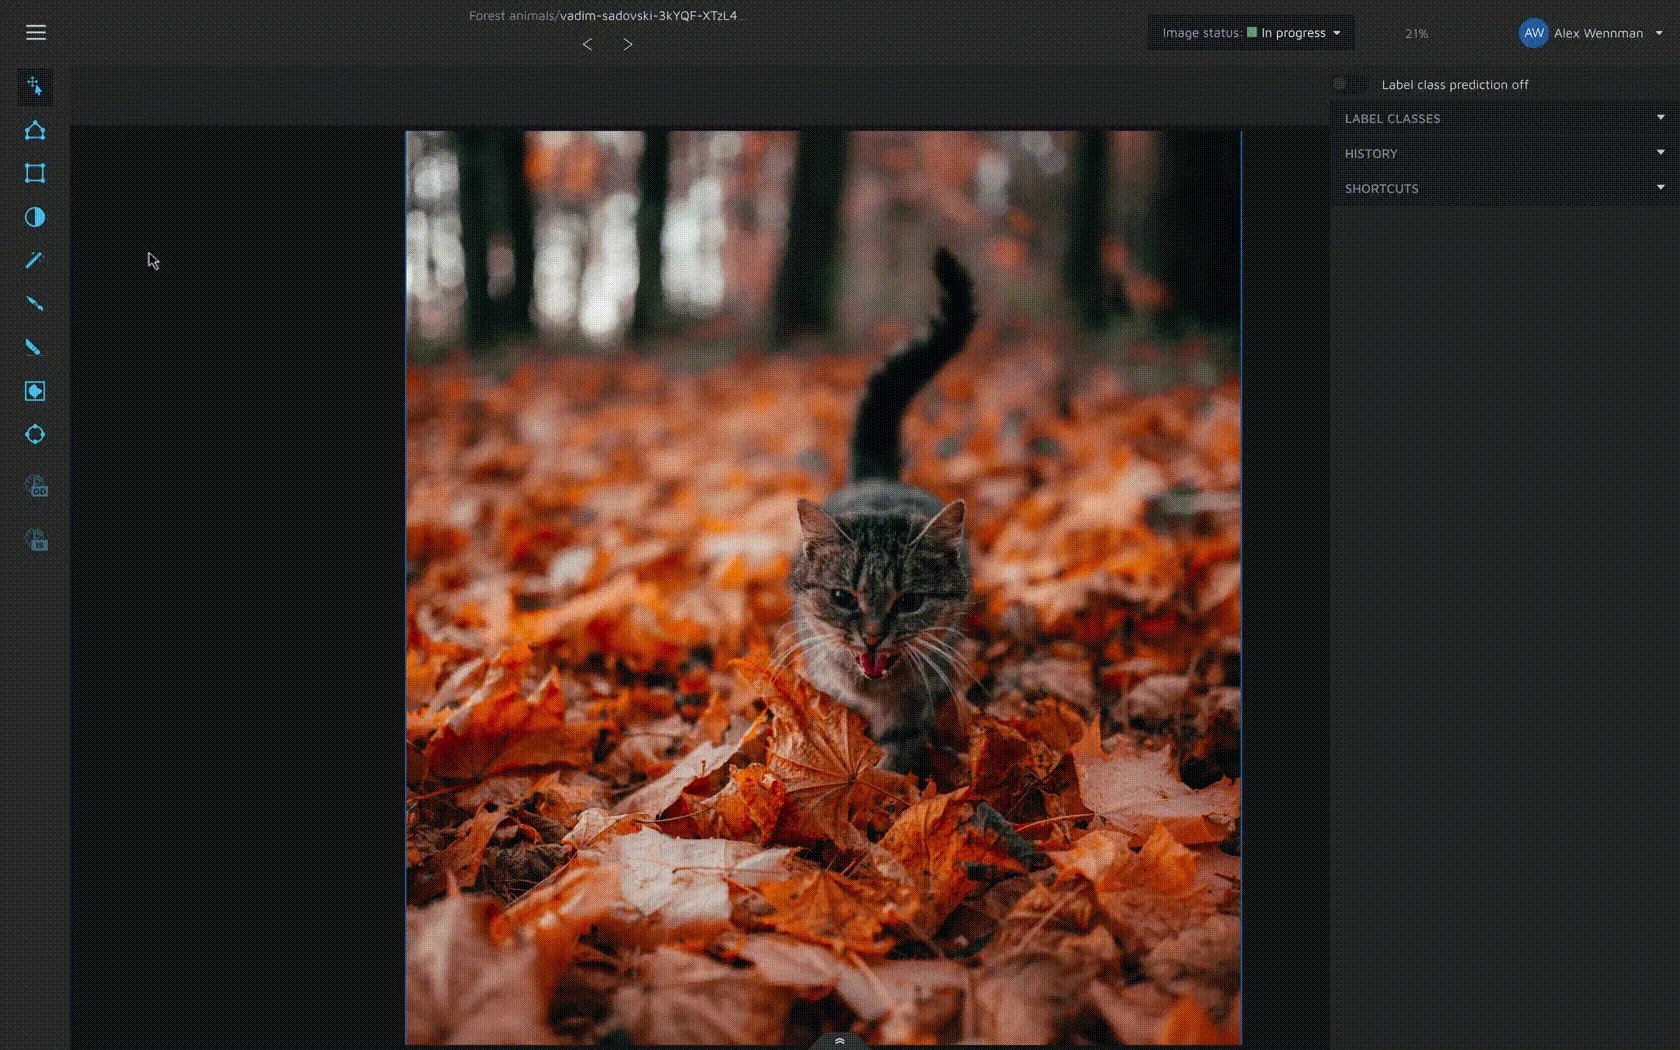
Most object detection tasks that are done today are done through the use of bounding boxes. Marking out an object by putting a rectangle over it is a very common, time-intensive task in supervised learning. With this tool, we hope to make the process quicker than what it has been before.
The tool can be selected by pressing the

...icon in the toolbar, or by pressing “R” .

Creating a bounding box
You can easily start to create a bounding box by left-clicking (or pressing “A”) anywhere in the image to place the first corner. With the first corner placed, you can move your mouse around. When you find where you want to place the second corner, you left-click (or press “A”) again. This creates a bounding box.
Editing a bounding box
To edit a bounding box, you first have to select it using the move/edit tool. When one or more bounding boxes are selected, you can edit them by left-clicking on one of the corner or side points and then drag that point to the desired location.
